Raspberry Pi
Pi-hole With Unbound
Pi-hole with Unbound
Company: Network Security Home Lab

Project URL: https://github.com/ericktafel1/RaspberryPiProjects/blob/main/Pi-holewithUnbound.md
Project Overview
This repository contains instructions for setting up Pi-hole with Unbound for enhanced DNS filtering and security. The configuration is based on the tutorial by Crosstalk Solutions The World's Greatest Pi-hole and Unbound Tutorial 2023 and the Pi-hole documentation Unbound Integration Guide.Prerequisites
Ensure you have the following prerequisites before proceeding with the setup:- Raspberry Pi (or similar device) with Raspbian OS installed. I used a Raspberry Pi Model 3 B+ which is way more computing power than is needed for the PiHole, but I figured it was the best use of my Pi at the time.
- Basic knowledge of working with the command line.
- Internet connectivity on the device.
Setup Instructions
Follow these steps to set up Pi-hole with Unbound:Step 1: Pi-hole Installation
Follow the Pi-hole installation instructions from Pi-hole Documentation.
Step 2: Unbound Installation
Follow the Unbound installation instructions from Crosstalk Solutions Tutorial.
Step 3: Pi-hole and Unbound Integration
Configure Pi-hole to use Unbound as its upstream DNS server. Refer to the Pi-hole documentation Unbound Integration Guide.
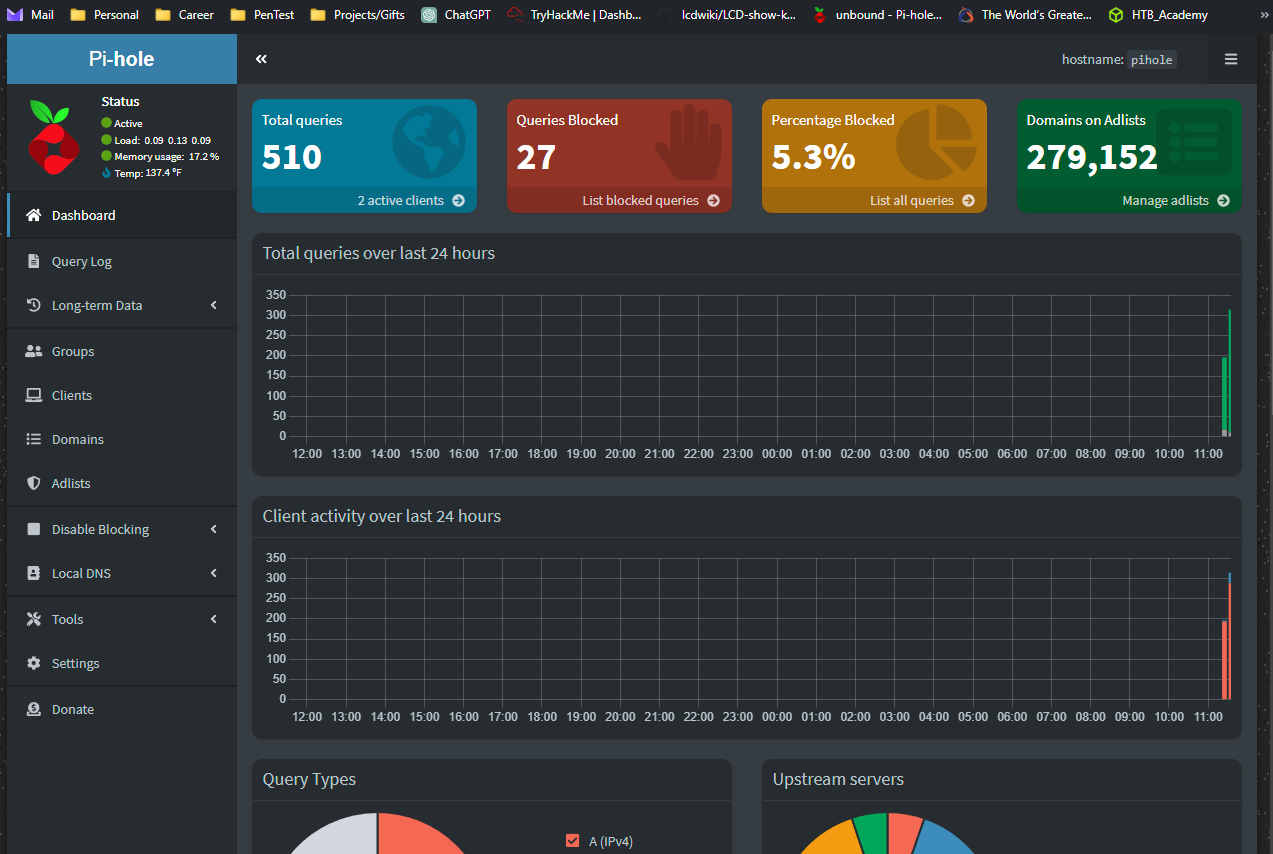
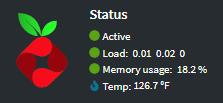
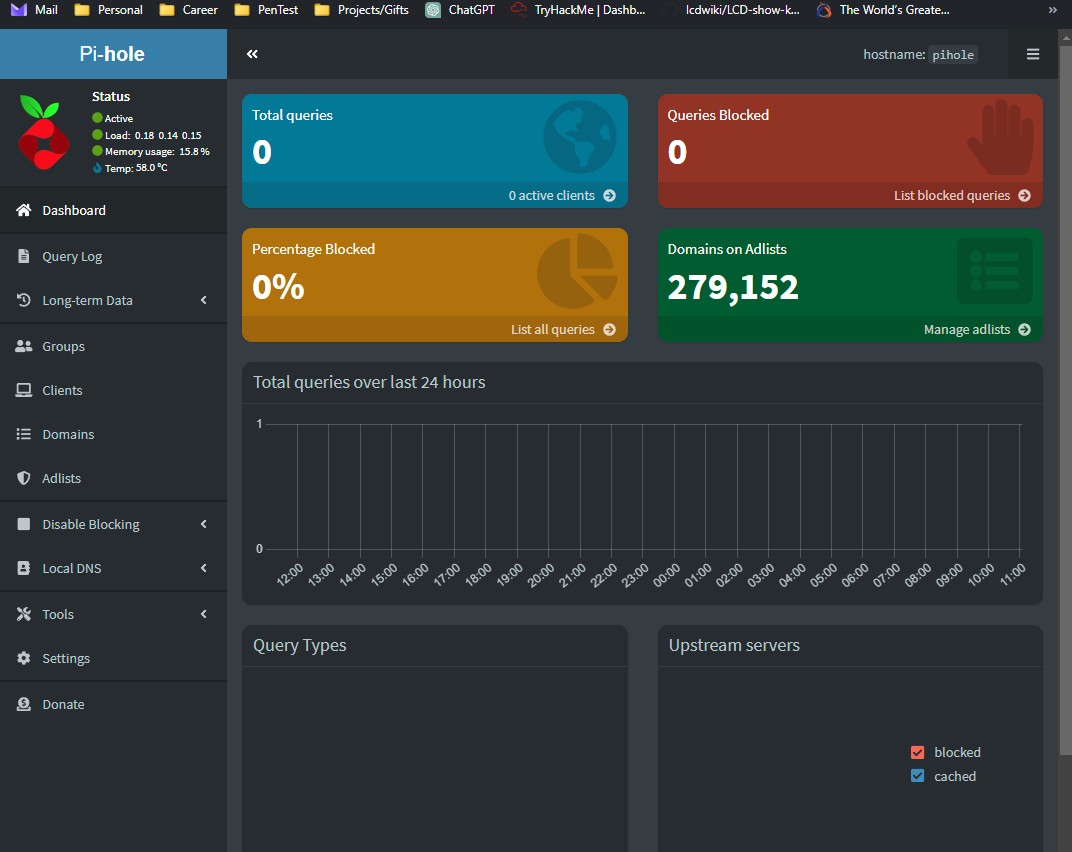
Results
Now, ads, tracking and telemetry, malicious links, and other domains are blocked. The web interface allows for review of statistics and logs. I can later configure groups to whitelist or blacklist domains and devices. There is much more functionality but that is beyond the scope of this write-up.