Raspberry Pi
The Mobile Hacking Machine
Mobile Hacking Machine

Company: Network Security Home Lab
Project URL: https://github.com/ericktafel1/RaspberryPiProjects/blob/main/MobileRPiHacker.md
Project Overview
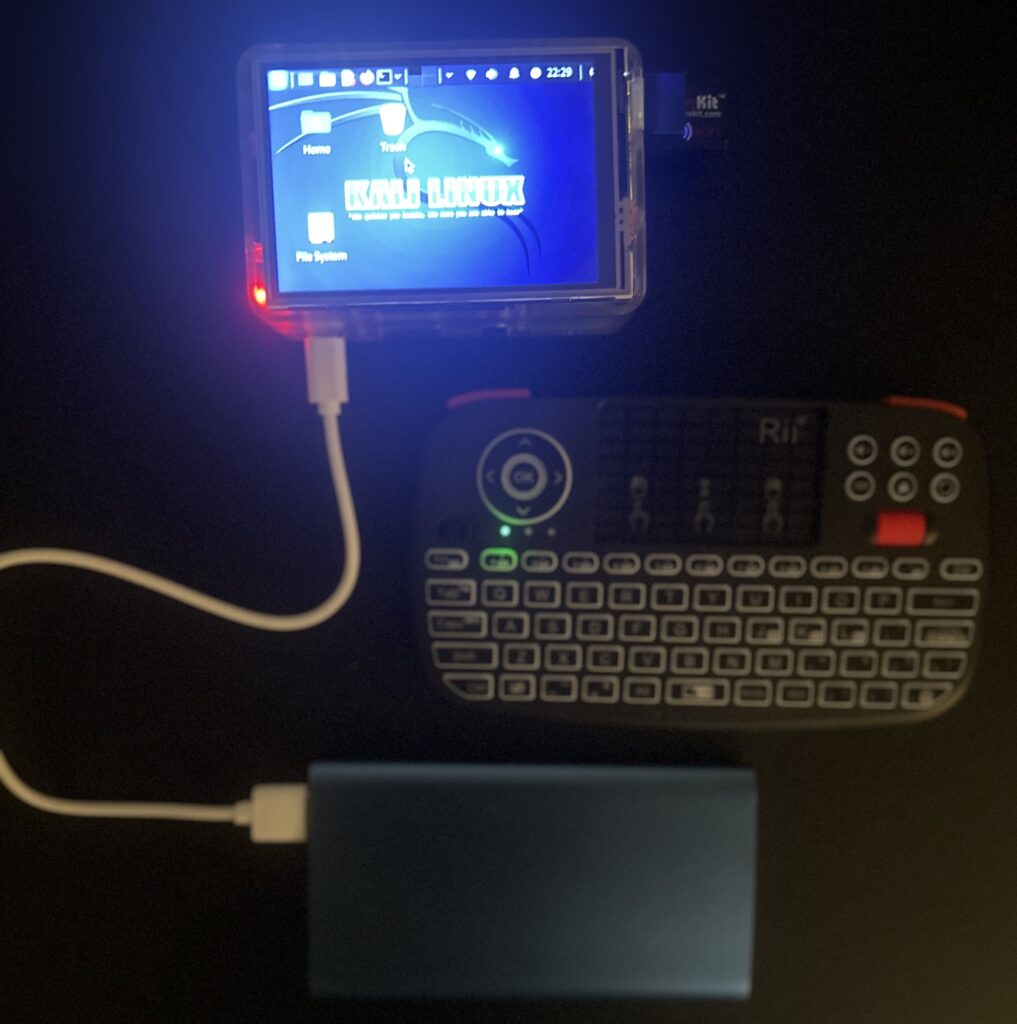
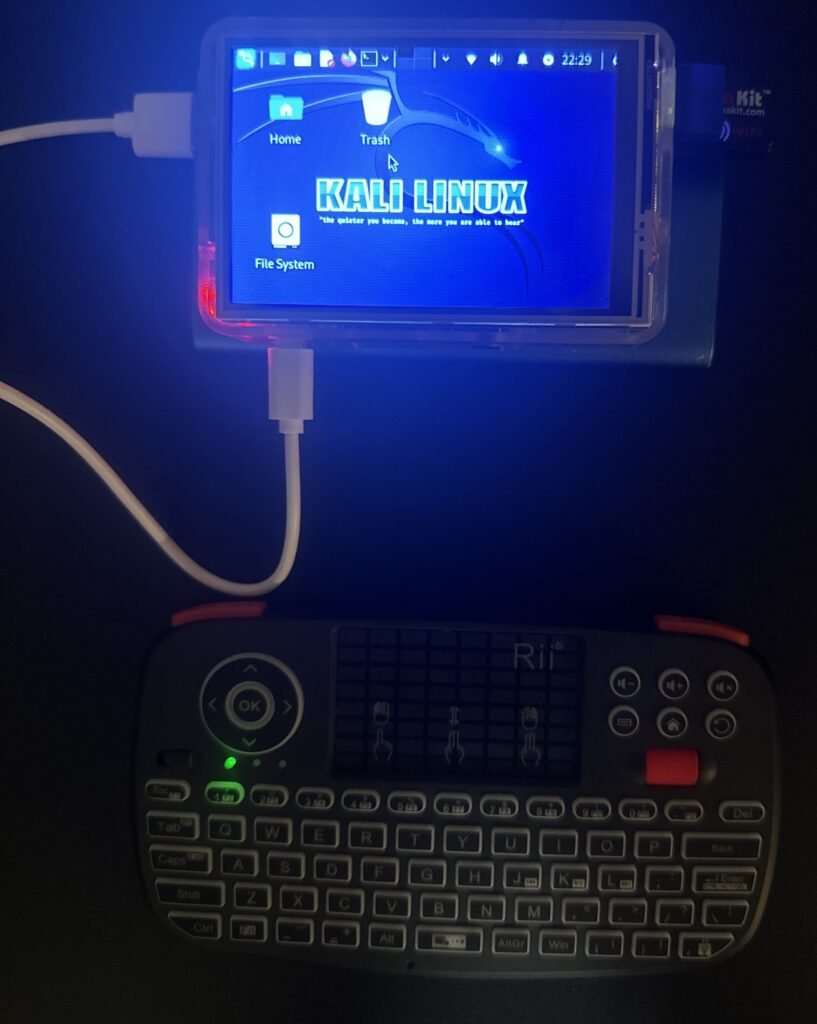
Like many techies, I found myself absorbing far too much tech YouTube content. One night, I was watching a content creator and that's when I realized I had to build what he had. He had a video showcasing a Raspberry Pi that he converted to a mobile hacking device. This small device was used (with permission) at his local coffee shop to perform a Wi-Fi de-authentication attack. I had to try this in my home. So I did what any tech-addicted curious individual would do. I bought the parts and began to tinker. Components:- Raspberry Pi Model: 3 B+
- Accessories: Bluetooth mini keyboard + trackpad, wireless adapter, LCD touchscreen
- Power: Charging bank for on-the-go hacking missions
The Break: Finding the Touchscreen Driver
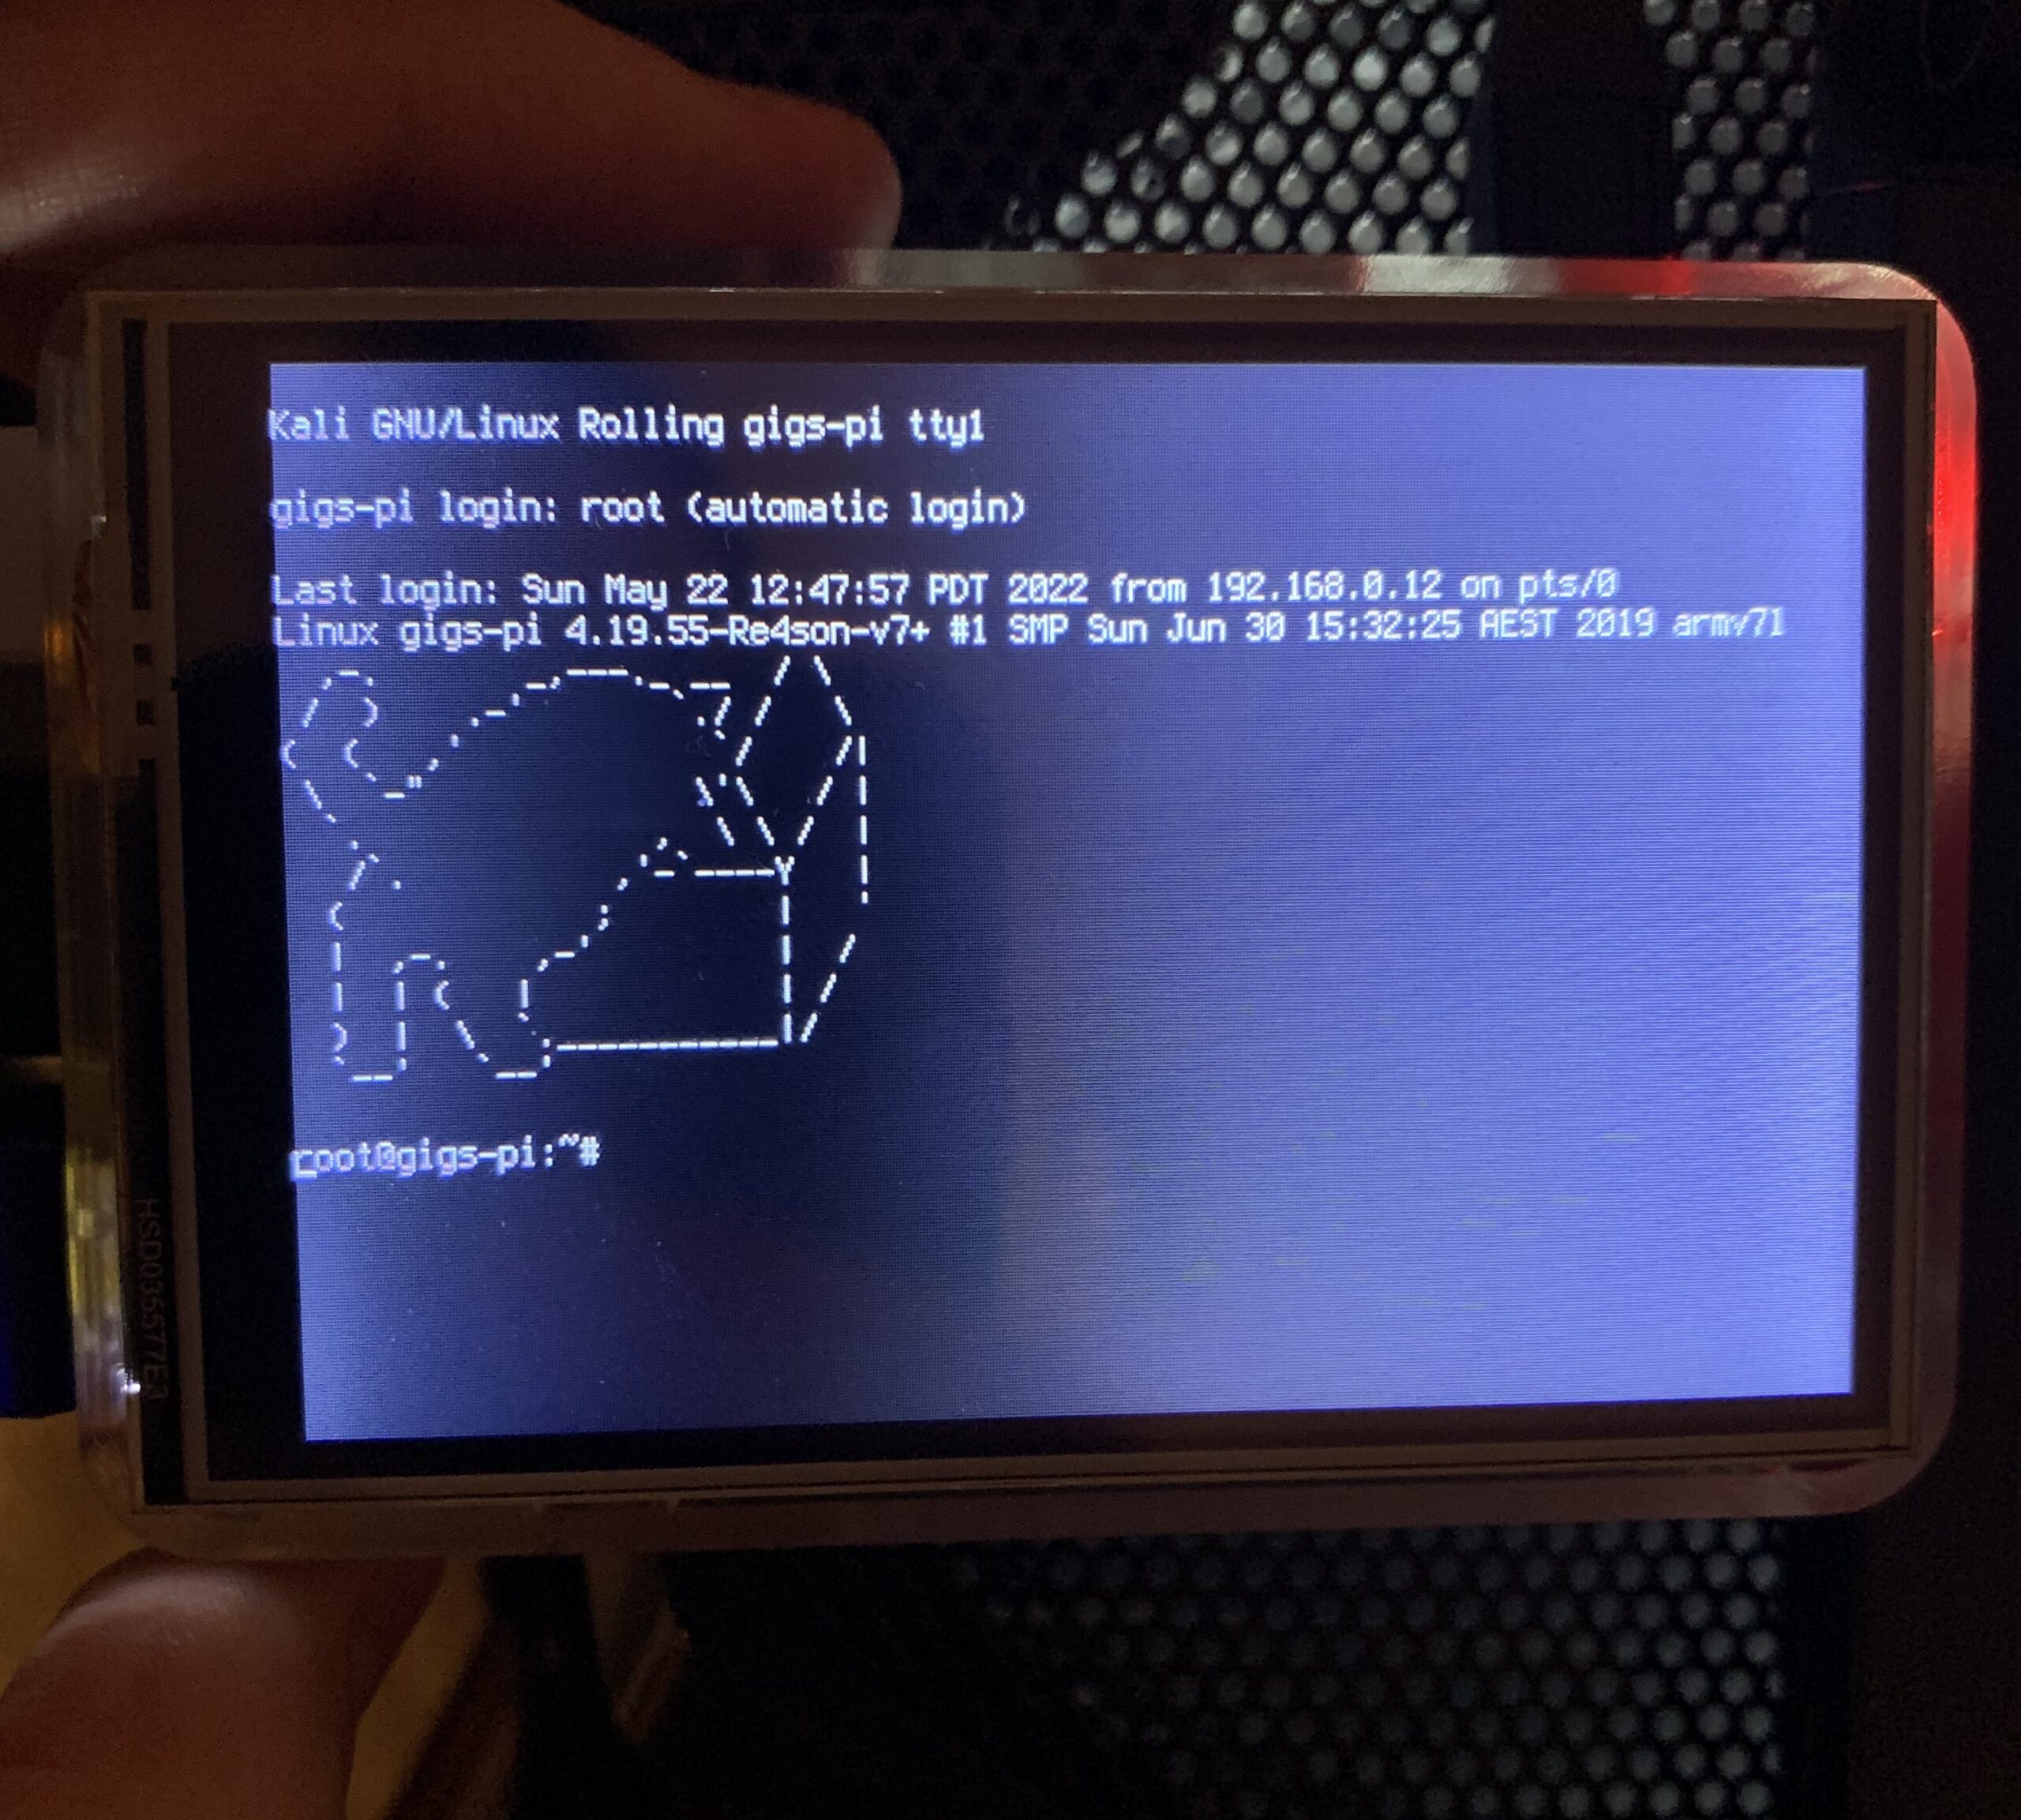
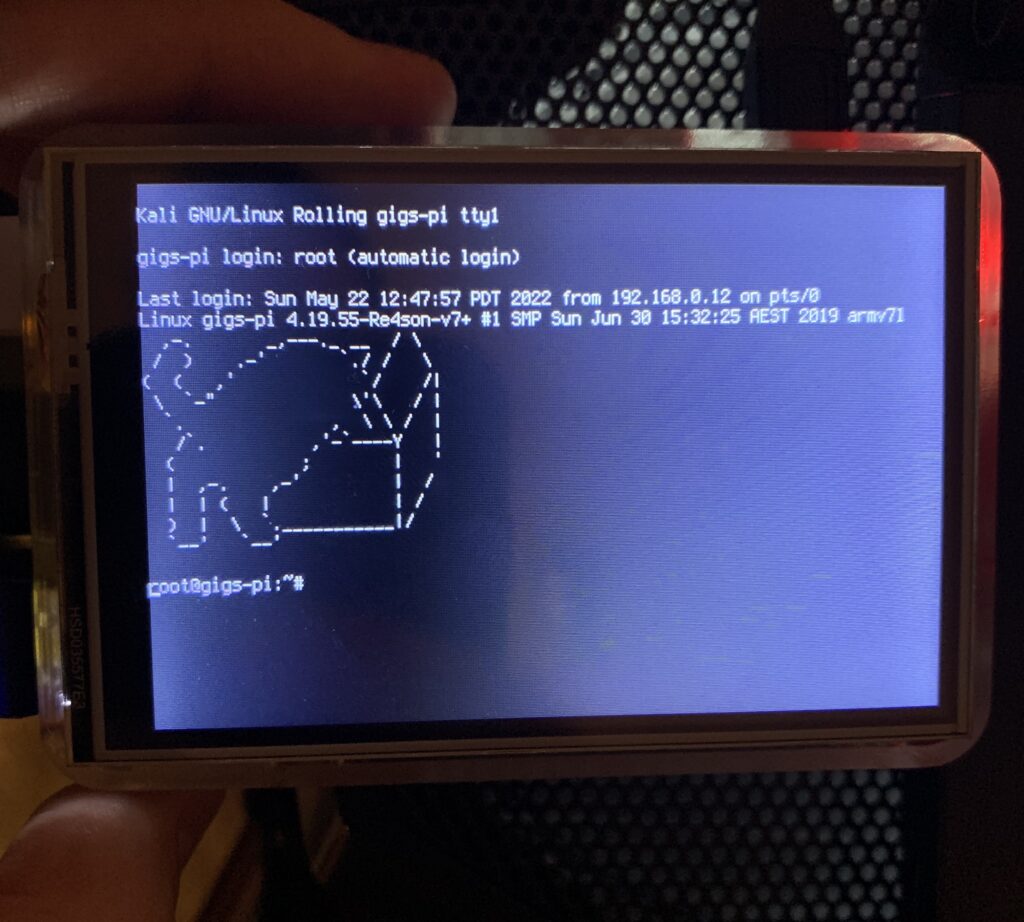
After months of crafting the perfect mobile hacking setup, I hit a snag – the elusive touchscreen driver. Frustration peaked, so I took a breather—a wise move, as it turns out. Sometimes, a step back is all it takes. After my hiatus, I found the right driver for the LCD screen. Pure joy! Now, our hacking machine boasts a fully functional touchscreen, amplifying its cool factor. Before taking the break, this is what my machine looked like (I edited the /etc/motd (Message of the Day)):
Installation Guide
1. Get the Kali Image
Visit Kali Linux to grab the latest ARM image.
2. Format the SD Card
Use the SD Card Formatter for a clean slate.
3. Write the Image
Employ Win32DiskImager to burn Kali onto your SD card.
4. LCD Driver Magic
For the LCD driver, head to LCD-show-kali and follow their wizardry.

The Result
Although everything was working perfectly, I couldn't help but think I could use my RPi for something more useful. After all this device does the same as my laptop but is much smaller. So I am now playing with the idea of transforming it into a PiHole to block ads and trackers! I will post that write-up soon.